Paper Airplanes – A Beginner’s Guide
Whether you are interested in making paper airplanes for fun or for your own use, this article can help you get started. It provides a simple step-by-step guide to constructing and flying a paper airplane.
Build a paper airplane
Whether you are a beginner or an expert, you can have a lot of fun learning how to build a paper airplane. There are a variety of instructional videos available online that will show you how to do it. Choosing the right type of paper will also help you get the most out of your experience.
There are a lot of different types of paper that you can use. Shipping paper, construction paper, and even letter size sheets are all good options.
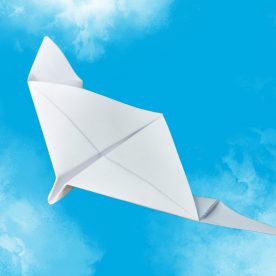
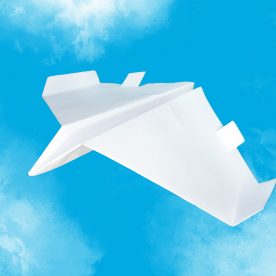
The basic design for a paper airplane is fairly simple to fold. It is designed to have a basic triangle shape with two corners and a triangular flap in the middle. It will also have a small triangle shaped wing tip. The tips can be folded in and out, allowing you to make it fly a bit more.
It can be difficult to tell if a paper airplane will actually fly, but with a little practice you will find out. There are many factors that affect flight including the design of the plane and the forces of gravity.
To make the best possible paper airplane you will need to find a large area that is free of foot traffic. This is important because you want to throw the plane as fast as you can while still being able to see what you are doing.
Make a paper airplane wing
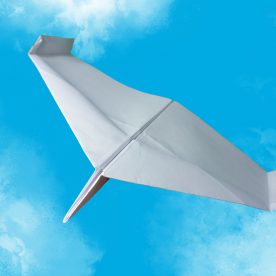
Creating a paper airplane wing starts with folding a sheet of paper. It is folded in two directions to create the wings. Once the wings are folded, the wing should look finished and like a picture. The wings should have a smooth surface to reduce drag.
The wing should be folded at a slight angle. This causes the air to attach to the wing, giving the plane lift. The more slender the wing, the higher the aspect ratio, which is measured by dividing the length of the wing’s chord by its span.
The wing should be about an inch and a half in width and about three-fourths of an inch tall. The bottom edge of the wing should be folded outwards, as shown below. It should also have a triangular fold on the bottom. It should hold the previous folds in place.
If you want to add weight to your nose, you can use a paper clip or tape. You can use double stick tape if you are not confident about holding the flaps in place. You can also bend the back end of the wing to help your plane’s nose point upwards in flight.
A paper airplane wing should have two guiding creases. These will allow you to keep your plane in shape when you are finished.
Fly a paper airplane
Despite being a simple paper craft, flying a paper airplane can be an exciting hobby. You can try out different plane designs to see which one will fly the longest. You can also use paper airplanes for science experiments.
The paper airplane has four main forces that affect its flight. These include gravity, lift, drag, and thrust. The force of gravity will pull the paper airplane toward the ground. The weight of the paper will also pull it downward. A paper airplane with little balance will fall off the ground. The right balance will increase the length of flight, while a poorly balanced plane may nose dive into the floor.
The best place to fly a paper airplane is outside in an open area without any wind. You should also try to choose a long, straight line that runs from left to right. You should also have a target landing zone, such as a hula hoop.
The best way to fly a paper airplane is by incorporating a fin on the back of the plane to counteract the tendency for the wings to spin. The wing tips should also be bended up, adding stability.
Another good paper airplane to have is the smart control module. This is a small device with two prongs that can clip onto the front of the paper plane. It uses sensors inside the paper airplane to adjust the thrust. The prongs can be attached with a piece of tape. The app also offers audio feedback, giving users an indication of how the plane is performing.


