The Art of Flight: Paper Airplane Design and Construction
Using a paper airplane design and construction activity is a fun and simple way to teach children about flight and how it works. You can use this activity in a classroom or at home with your kids. These activities will help kids understand how the forces of wind and gravity affect how a plane can fly and land.
Background information
Creating a paper airplane is an excellent way to learn the physics of flight. Not only is it a simple way to experiment, it’s also an easy entry point into engineering design. You can learn the basic components of an airplane, such as the rudder, wings, and tail. You can then test and tweak your paper model to make it fly.
In the early days of aviation, several countries used paper models to test their aeronautical designs. These designs included the Junkers 88 tactical bomber program and the Heinkel 111 programme.
The Wright Brothers used paper planes for research. They also developed the aileron and elevator control surfaces for their aircraft. They found that the best way to control the aircraft was through the warping of the flight surface.
Examples

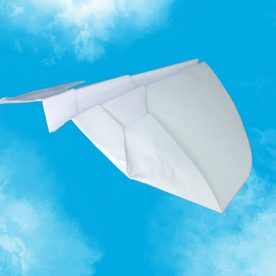
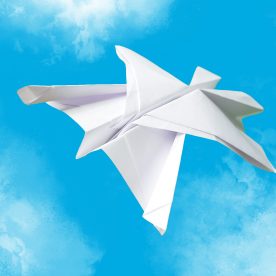
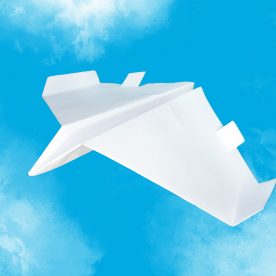
Whether you are a teacher looking for fun science experiments or a parent looking for a simple DIY activity for your kids, paper airplane examples are a great way to get the job done. There are many different designs and you can find instructions for them online.
For example, a paper plane can be designed to have a thrust or lift. These forces act upon the plane and determine its flight distance. You can also use the plane to collect data in the classroom.
One of the most interesting paper airplane experiments is a test of different materials. This involves comparing the performance of five materials. Some of the results are surprising. You may have to modify the design to improve performance.
For example, the Bulldog Dart has a lot of folds and performs better than its simpler cousin. The center crease provides a reference point for future folds.
Pteromys system

Using a computer software program developed by a group of Japanese engineers, the Pteromys system is an efficient way to design and build free-flight model airplanes. This little ditty is designed to trump traditional construction methods, such as glue and tape. The end result is a functional toy.
The best part is that it is not only fun and affordable, but it is also a perfect learning exercise. Regardless of age, if you are interested in aviation and technology, this one is a surefire hit. Moreover, it may even serve as a family bonding activity.
The software was developed by researchers at the University of Tokyo. The software uses a graphical user interface and allows you to build and test paper airplanes of all sizes. The result is a suite of useful tools that will not only get your kids excited about aeronautics, but will also teach them the finer points of tinkering with aerospace technology.
Forces that get a paper plane to fly and land
Choosing the right materials for your paper airplane can affect its performance. You can also adjust its wing shape and tail to reduce its weight and drag. You can use a simple mathematical model to see how these changes would affect its flight.
The paper plane is made of material that is lightweight, but still has enough strength to propel it through the air. These materials can be cut into different shapes, and some even have weights attached to the sides. The weights can help to balance out the mass of the aircraft. This helps it to glide better.
In the simplest of terms, a paper airplane’s most important force is its lift. A large wing can generate more lift than a small wing. However, a large wing can also add to the drag that the plane experiences, slowing down its forward speed.
Activity sheet
Whether you’re working with students or parents, a paper airplane science experiment is a great way to explore some of the scientific concepts of flight. The activity is designed to teach students how to fold different types of paper, as well as measure the distance, time and forces that affect flight.
Start by gathering materials. You’ll need a piece of paper or cardboard of varying sizes. Make sure you have a large enough area to test your planes. This should be a place free of foot traffic and preferably outside.
Using the provided patterns, you’ll be able to perform your first trial. You’ll need to use sharp folds. If you have trouble folding, you can ask other students to help.
Next, you’ll need to create a comparison chart. The chart will have three columns that are used to compare each plane’s measurements.