How to Make and Fly the Fastest Paper Airplanes
Whether you’re a paper airplane enthusiast or a beginner, you’ll want to learn how to make and fly the fastest paper planes. The trick is learning how to fold them properly, and knowing the basic aerodynamic forces that will help them stay in the air.
Longest flying paper airplane
Creating a paper airplane is a great hobby for kids. They can learn about science while having fun! They are also easy to make and inexpensive. If you want to try making your own paper airplane, you can find some simple instructions online.
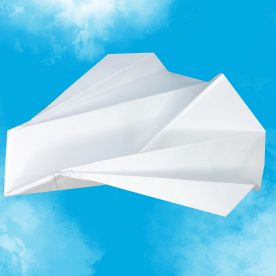
First, you need to fold the wings of the airplane. The wings should be folded in a dihedral angle. This means that they should be folded at a slight angle to the top right and left corners of the paper. You should also fold them in the back so that they are about 1 1/2 inches in length.
After the wings have been folded, you should make sure that the fuselage is in the center of the plane. This is important for stability. You can also add weight to the nose of the plane. You can do this with tape or a paper clip. This will help the airplane to fly longer and stall less.
Slowest flying paper airplane

Using paper airplanes is a great way to introduce science to kids. They can test different shapes and sizes, and learn about the forces that propel the plane. This can also be a fun activity for parents and teachers.
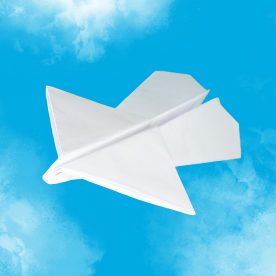
The Guinness Book of World Records has recognized the fastest flying paper airplane in 2009. The Sky King by Takuo Toda beat its previous record by 0.3 seconds. Its wingspan was 8.5″ x 11″, and it flew for 29.2 seconds in 2010.
The paper airplane is made from two sheets of paper. One sheet is folded in half to form a circle, while the other is folded in the opposite direction, forming a flap. Snip the papers about a half inch apart and fold them into a flap. The flap is then folded up to form a circle.
There are many types of paper to choose from. The best is lightweight printer paper. This will help the aircraft stay up and fly longer. If you have a larger wing span, you can use heavier paper.
Aerodynamic forces that enable a paper airplane to stay in the air

During flight, paper aircraft are subjected to four basic aerodynamic forces: gravity, lift, drag, and thrust. These forces act on the plane, and the way they are handled will influence the aircraft’s distance, altitude, and glide.
A plane uses lift to get into the air, and then use thrust to keep it flying. A plane can be designed with more lift, or less drag, to alter its flight.
To find out how these forces affect the plane, you can conduct a simple experiment. To start, cut a small piece of paper into a L shape. Then, place the end of the L in the cup. As the air flows through the cup, it will catch the airflow.
The air is pushed against the paper, and the resulting drag will slow the plane down. The resultant force is known as drag, and it has a net force of 15 Newtons.
The difference in pressure is the first of the four basic aerodynamic forces that a plane will encounter. The pressure will be higher on the bottom of the wings, and lower on the top. The plane will need to create more lift to reach an altitude, and this is achieved by the wings slicing through the air.
Folding techniques
Using folding techniques for the fastest paper airplanes requires a few tricks to get the most out of your flight. It’s not difficult to learn how to make a plane, but there are a few things you’ll need to know before you attempt it.
First, you’ll need to decide how to fold your paper. You can go with the traditional book fold or the hot dog fold. If you choose the book fold, you’ll need to place the paper on a flat surface and then fold the top edge of the paper down.
Next, you’ll need to fold the bottom of the paper in the bottom right and left corners. This will leave you with a rectangle that is two inches wide and 2.5 inches long. The edges should be lined up. You’ll also need to make a diagonal line coming from the top of your paper airplane, which will be your guide.
Once you have the folded plane, you’ll want to move the weight back to keep the nose from going up. You can do this by trimming or moving the back wings.